you can kind of tell that my free-form cutting got a bit free-er as the quilt progressed from left to right, cause the left side of that first strip sure is straight! I think I'll unsew that and give it a few deeper curves, and maybe add another strip over there. Have to see how much of the strip set I have left.
So, how was this quilt made? Pretty much like the first set of wavy improv stripes, but cutting curves from a strip set and solid fabric. Check out this super long strip set,
approximately 54" long, 18" wide. Notice all the stored fabric underneath - all that yardage I sold off hardly made a dent!
And just like before, I cut matching curves from the strip set and the solid fabric,
using the 40" width of the solid, and moving the strip set up and down for each stripe so that the same fabrics didn't land at the same spot every time. After I fix that first section, this will probably be wide enough to call it finished.
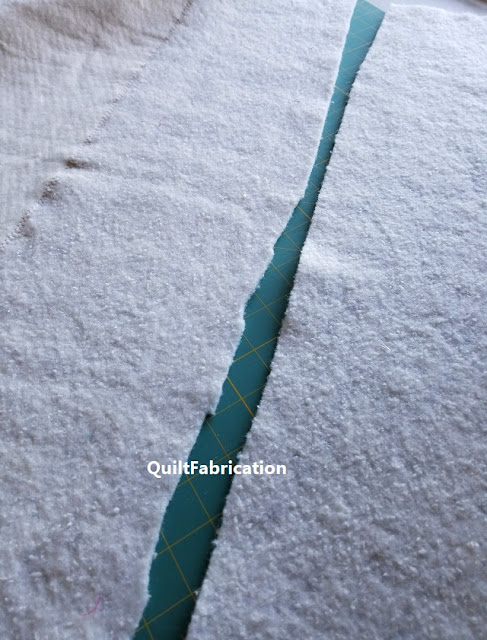
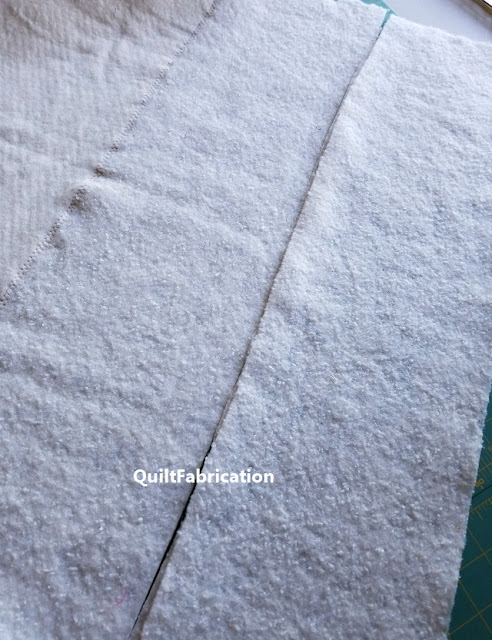
By the way, I found this cutting technique especially useful for piecing batting scraps together. See how one edge is ragged and the other a smooth curve?
Placing the smooth curve on top of the ragged, then cutting following that smooth edge,
makes for a well-fitting seam, easily zigzagged together.
Ta-da! Batting ready to go, though not for this project.
So, even if you don't want to try free-hand cut stripes or curves with fabric, just know you can do it with batting!
Happy Quilting!


