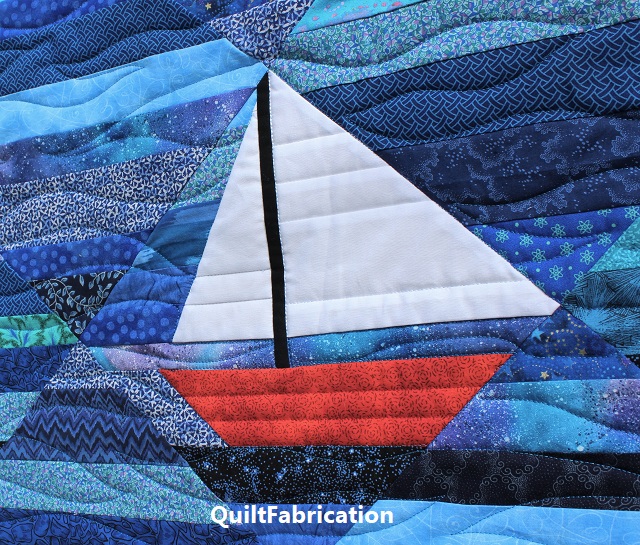
When making string blocks, a lot of quilters like to use a foundation upon which to stitch their strings to, mainly so they have a block outline to follow. I've done that before, using both paper, which I hated ripping out, and a lightweight fabric foundation, adding extra weight.
So this time, I decided to just wing it, and use a ruler as a guide. After each strip was sewn on, the seams were pressed to give me a better idea of how well I was filling the block space outlined by the ruler.
Some may think this is easy, rather mindless sewing, but not for me. Each strip in the block was planned out so that the appearance of large areas of either light or dark values wouldn't happen, causing a distraction. I find piecing string blocks to be just a challenging as any other block!
For the sailboat, I started with a darker ocean under the boat, as if it was casting a shadow.
After string piecing sails, the mast was placed with one side on the center line. From memories of my Dad's boat, I know that one sail is smaller than the other. With the help of a Tri-Recs ruler, the little sail is cut.
And a corresponding angle is cut from ocean strips, to fill in the remaining block area on that side.
Turns out, I didn't make the ocean strips long enough, so some of this set got replaced. But now I have two pieces with the correct angle to stitch together for the small sail side.
Before sewing it all together, it needs a quick check to see how it's coming together.
With a little bit of ocean to add in under the small sail, I can stitch it all together and trim, right?
But the boat spanning the entire strip, from block edge to block edge, looks odd. The boat in this picture is close to what my Dad had,

and the front of the boat does not go beyond the small sail. My boat needs some trimming! That's pretty easy - it's just like joining pieces together to make binding, double checking that the angle is right!
Ah, much better. Now to sew it all together, and trim, keeping the strips horizontal.
Ta-da! Not bad for an improv sailboat, huh? Now it's ready to sail into the full Seafarer quilt pattern!
Happy Quilting Everyone!


Susan, All of those blues are so beautiful! What a clever quilt.
ReplyDeleteYour jib is in great proportion to the mainsail and the boat itself!! I grew up sailing and currently have a 16' Albacore (mahogany, day-sailor). I want to try to make a block like yours...it will always remind me of my dad and his love of sailing!
ReplyDeleteYou are so so so talented Susan - love the block!
ReplyDeleteHi Susan! What a great explanation on how you made your improv boat. Both sails looks fabulous, and the mast is a necessary but usually missing piece from most quilting block boats. ~smile~ Roseanne
ReplyDeleteWow, what a great idea!
ReplyDelete