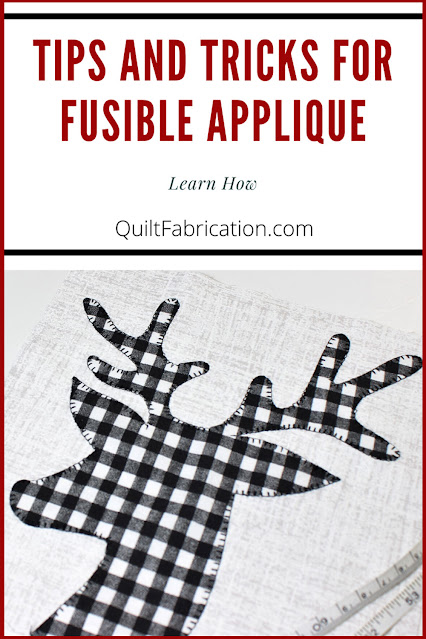
Click on the picture to see the video

Tips and Tricks for Fusible Applique Tutorial
Trace the reverse of the pattern
Before tracing any design onto paper backed fusible web, be sure it is the reverse of the design.
Fusible web is always applied to the wrong side of the fabric, which means when the piece is turned to the right side, it reads in the correct orientation. This is especially important for lettering!! Below, the deer pattern looks to the right, and is traced the same, but on the finished piece, he will look to the left.
Rough cut a 1/4" on the outside and inside of the tracing
Cut out the fusible tracing, 1/4" away from the line, on both the outside and the inside. It doesn't have to be perfect - just leave enough to secure the line when fused.
Why cut out the inside? It reduces the stiffness associated with fused fabric, and allows for the background to be cut away.
Tip: when cutting multiples of the same shape, staple them together - see the fusible applique video for more!
Add alignment marks for fussy cutting
I'm placing several deer on a plaid fabric and want them to look the same. By adding alignment marks to the fusible tracing, I can successfully achieve that. Check out this tutorial, Creating Identical Fussy Cut Fusible Pieces, for more detailed instructions.
Follow Manufacturer's directions for fusing
I can't say this enough - follow the manufacturer's directions for both fusing onto the wrong side of fabric, and for the final fusing. Each is different! The fusible I use requires 5-8 seconds with a hot, dry iron for fusing to the fabric wrong side. Too little, and it won't fuse; too much and the glue melts, leaving nothing behind. The final fusing requires a damp press cloth, a iron set at wool, and 10-15 seconds. Quite different, so be sure to follow the directions!
Cut out applique on the line
Once the first fuse is done, carefully cut out the applique piece on the drawn line. This is the final shape that goes on the background.
Prepare the background
Size
It should be noted that applique stitching tends to shrink the background. I recommend cutting the background 1/2" bigger all around, completing the stitching, then trimming the background to the final size.
Placement
Several methods can be used for placement on the background: a light box with the pattern underneath the background; folding the background in half in each direction and making light creases to mark the center; or using a ruler to measure from the background edge to the applique. View the Tips and Tricks for Fusible Applique video to see these in action for the deer applique.
Final Applique Fusing
Once the applique is placed on the background, it's time to fuse it down! Follow those manufacturer's directions for successful fusing.
Applique Stitching
There are numerous stitches available for finishing applique pieces. The most popular are a blanket or buttonhole stitch, zigzag, or a straight stitch. It's completely up to you, as is the choice of thread, both in weight, material, and color. I recommend testing threads, stitches, and tension settings on scrap fabric before starting the stitching on the final project.
Final Trimming
The very last step in applique is to trim not only the background to the proper size, but to also trim out the excess background fabric behind the applique. Remember the section of his head and neck that was trimmed out of the fusible web? Now it's time to remove the non-fused fabric in that same area, to reduce fabric bulk.
If you're lucky enough to have an applique with an open edge at the background edge, it's easy to cut out the excess. In the deer's case, the bottom edge is fused, meaning I need to cut a slit in the area to remove. By just pulling the applique and background fabrics apart in that spot, I can clip the fold enough to get a scissor in to trim along the line of fusible.
He's finished and so are the tips and tricks for fusible applique!

My Favorite Patterns


Susan, you share so much information and knowledge here. I usually look here first when I am searching for something. Thanks for continuing to blog.
ReplyDeletexx, Carol
Thank you so much for sharing your tips! Pretty soon I will be working to complete a quilt that is mainly applique, so your blog post will be of great help! Thank you!
ReplyDeleteGreat tips, thanks!
ReplyDeleteNice, clear instructions! Thanks!
ReplyDeleteGreat tips and I am so pleased you linked up again this month!
ReplyDeleteHi Susan! Great tips for applique AND I really like your deer. You've laid out the steps very succinctly and the photos help as well. Thanks so much for linking up this week. ~smile~ Roseanne
ReplyDelete