- keeping lines consistent at the same angle?
- maintaining even spacing across a block or quilt?
- matching lines on opposite sides of a motif or applique?
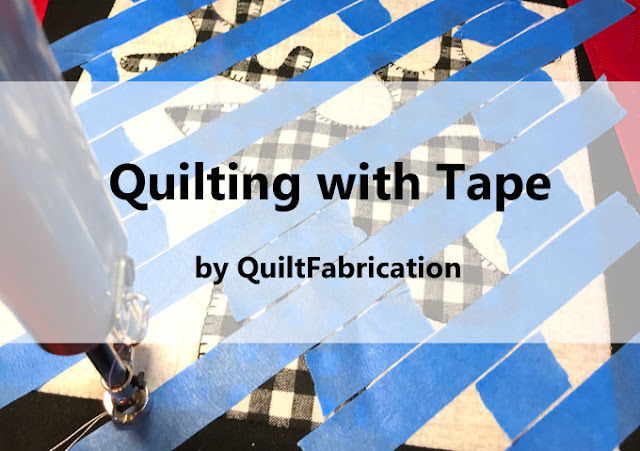
Then consider quilting with tape!
Yes, tape. Painters tape, masking tape, or even quilters tape will keep those stitches in line!
I always have a couple of different widths on hand, usually a multi-sized pack of 1/4", 1/2", and 3/4" blue painters tape (affiliate link) giving me just the right amount of stickiness in an easy to see blue. A multi-size pack of masking tape (affiliate link) is another great choice, if I can't find the size I need in blue. Quilters tape (affiliate link) is limited to a 1/4" width, which, depending on the application, would also work fine.
Of course, this is not the first time I've used tape, finding it very useful for stitching the straight line background fill on Light at the End, plus other quilts. Tape is so useful - it's what I recently used to create the straight line quilting behind the deer heads of Reindeer Wreath.
Finding 3/4" blue painters tape provided the right scale for my design, I used it to mark and space my lines.
The longest piece, the design anchor, is laid down corner to corner in the block. Short pieces are used as spacers since straight line quilting can be stitched on both sides of the long piece. No need to cover everything with tape!
Then all I needed to do was stitch next to the tape, lifting the end up here and there to travel to the next line via the block edges or motif. Super easy! Check out the Quilting with Tape video to watch it in action.
Notice that all of that straight line quilting is continuous - no stops, starts, and tie-offs to deal with. Here's a valuable tip: only travel over previous stitching 2 times, for a total of 3 layers of stitching. Any more than that and the thread buildup becomes noticeable.
Though quilting with tape may seem time consuming, it's worth it! Here's why:
- the angle was always correct
- the stitch lines on opposite sides of the head applique matched and lined up
- the spacing between lines was consistent
- the line was straight, not wobbly or shifted as sometimes happens with long rulers
- the ruler and my hand was always safely in front of the needle and not awkwardly trying to align stitch lines with ruler markings behind the needle
- the whole design stitched continuously by traveling around the applique and block edges
Need I say more?
If you watched the Quilting with Tape video, you'll see I did all of this straight line stitching on an Innova longarm. But this technique is also possible on a domestic machine. The steps are the same: use the tape to mark the stitching lines, stitch, and travel to the next line using the block edges or motif. What an easy way to take your quilting to the next level - nothing like having a few more tools in the quilting toolbox!
Happy Quilting!

My Favorite Patterns


Great points about not having a ruler in an awkward or even worse unsafe position!
ReplyDeleteThanks for the reminder.
ReplyDeletegreat idea! :0) thank you susan for the tutorial! best wishes from denmark, Ulrike :0)
ReplyDeleteI will give this a try. I've always used ruler measurement. This looks easier. Thanks, Susan.
ReplyDeleteCynthia
You have great control over your machine. I may have to give this a try.... it didn't take as long as I thought it would. Great video...
ReplyDeleteThanks for the reminder 😉👍
ReplyDelete(Masking) tape is my friend, too! Job well done!
ReplyDeleteI’m ready to try it! Great video!
ReplyDeleteAnd if you don’t have the width you need, you can stick a length of wider tape to your cutting mat, nice and straight along a line on the mat, and cut a narrower strip with a ruler and an old rotary blade.
ReplyDeleteThis is another great tutorial about how to use the blue tape. Love watching you quilt.
ReplyDeleteThanks for the tutorial! You make it look easy!
ReplyDeleteThat's a great idea.
ReplyDeleteHi Susan! I always LOVE watching your videos and this one is no different. What great tips you've shared on how to stitch with tape and continuously. I've always used my walking foot and the little bar that comes with it for even rows. Cool beans - I can't wait to give it a try. ~smile~ Roseanne
ReplyDeleteP.S. I forgot to say thanks for linking up this week! ~smile~ Roseanne
ReplyDelete