As promised, I'm sharing how I did the no show binding on the Snowflake table runner.
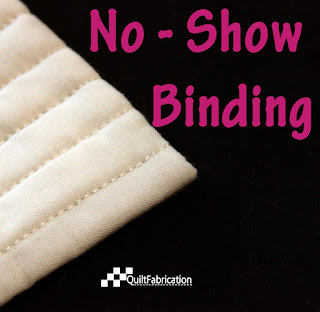
Notice it's not the traditional 1/4" binding edge, but instead a technique I call 'no show binding'. As you can see in the picture below from my No Show Binding tutorial on a previous quilt, the binding is not visible at all.
Some may call this a 'faced binding', though I prefer to call it 'no show', and it's perfect for art quilts, landscape quilts, and quilts that would just look better without the binding showing. Here's the binding on the backside of the Snowflake runner, with a small reveal of the front in the lower left corner.
Looks great, doesn't it? The Snowflake runner definitely needed this style of binding so as not to detract from the snowflakes falling off the edge. A blue line cutting through half a snowflake would just look awkward!
Though I do have a very thorough written tutorial on how to stitch a No Show binding, I'm happy to say I now have a No Show Binding video tutorial.
For a really quick summary of the process, here's some screen captures from the No Show Binding video. Cut 2" wide strips, with 2 strips 1" shorter than the quilt's longest edge, and 2 strips 3" longer than the quilt's other, shorter edge.
turn, press, and hand stitch.
For the long strips, fold the excess to the back at the corners,
stitch, turn, press, clip out the corner excess,
and hand stitch.
For more binding ideas or just tips and tricks, check out the other 9 binding tutorials on the Tutorial page - learn something new or just read to refresh.
Happy Quilting!


This is great. I've done a no show binding but your process is better, I think. I'll use this way the next time.
ReplyDeleteLove your tutorial. It looks pretty easy - when you know how to do it! I'll be coming back to refresh myself when it's time to do a no show binding! Thank you!
ReplyDeleteGreat tutorial and thanks for linking up! I call it facing, but yes, it really is an invisible binding when done this way.
ReplyDeleteGreat tutorial! I went back to the tutorial on how to reduce bulk on binding corners. Worked great. Back in the quilting groove now! Hugs.
ReplyDelete