So, after a bit of design discussion and sorting, I came home with 2 bags full of lined jackets and heavy flannel shirts to make into 3 quilts. Here's group 1, which have flannel or denim fronts with fleece lining. Two are just shirts, so I'm adding the red/black plaid fleece to the back.
Given these items to work with, this is not going to be a standard t-shirt quilt. No, we decided to use a quilt-as-you-go technique, abutting large pieces next to each other, then using sashing to hold them together. Because I have a longarm, the quilting part will be done when it's all put together.
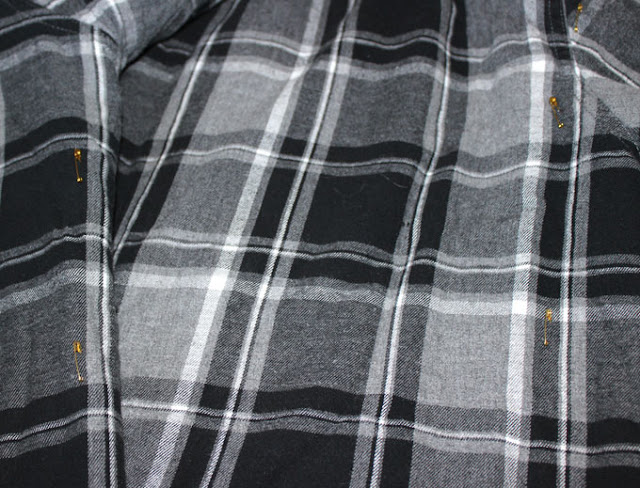
So, where to start? First thing I did was pin the front and back together near the side seams, to keep the parts together throughout the trimming and sewing process.
Then I cut the garment apart at the side seams, extending the line into the sleeves, to get two large chunks. I'm going for as much fabric as I can here.
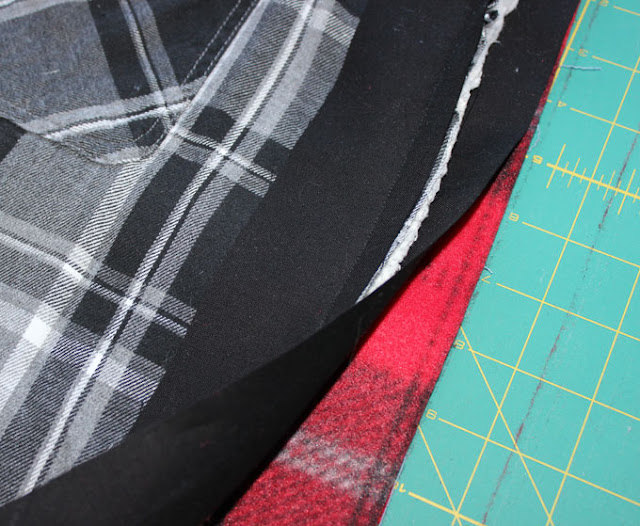
After a bit of smoothing and pin readjustment, it's off to cutting straight edges. Again, I'm going for as much fabric as possible, not concerning myself with a particular size. All I need are parallel edges and square corners. I'm certainly using the grid on the mat to help with that!
Before these pieces get handled further, I did stitch down the front opening, leaving the buttons intact. The same on the back, if needed. There's also a tuck stitched down at the spot where the sleeve meets at the underarm, to take care of excess sleeve fabric. Now this piece is ready for the sashing.
After sandwiching 2" wide black sashing strips around the front and back of the jacket,
I sewed a 1/2" seam. In the picture below, the sashing on the back of the jacket is folded forward and extends past the seam, for use in the next step.
Making sure I'm not confused as to which side of the adjoining jacket to use, I'll just say that as a rule of thumb, the side that I consider the front (flannel) goes face down. Which means I'll stitch that folded forward sashing piece to the back, in this case the fleece side, of the jacket.
After that step, this is the front, with sashing and two abutted jacket pieces,
and this is the back, with the sashing join complete.
That's as far as I've gotten, as I'm repeating the process on the next two rows. Before I finish securing the sashing on the front, I'll hand stitch a wide zigzag to hold the jackets together, preventing any curling within that sashing. There's still more to go, and I'll keep you updated with the progress in future posts.
Until then, Happy Quilting!

Enjoyed this post? Don't miss out - get posts delivered directly to your inbox with follow.it.


Quite the process! I'm a little confused, but that's easy to do . . . lol! I look forward to the finish.
ReplyDeleteKathleen - kakingsbury at verizon dot net
This is the perfect technique for these bulky shirts! It will be interesting to watch this progress.
ReplyDeleteThanks for sharing your process. Are you adding a layer of batting with the thick jackets? Looking forward to seeing the finished quilt. Certainly will be a warm and comforting quilt.
ReplyDelete